With the additional module Webcam, you can take a picture of your visitor directly in the process of registration.
This photo can then be printed on the visitor pass.
You should note that this additional module does not work with every browser. Common browsers such as Microsoft Edge, Mozilla Firefox or Google Chrome, for example, ensure smooth use.
Furthermore, the Webcam add-on module only works if you have an SSL certificate. This means you must have https:// in front of the IP address.
In the following we explain how to proceed with the Webcam add-on module.
| Inhalt | ||
|---|---|---|
|
Workflow when using the webcam in reception
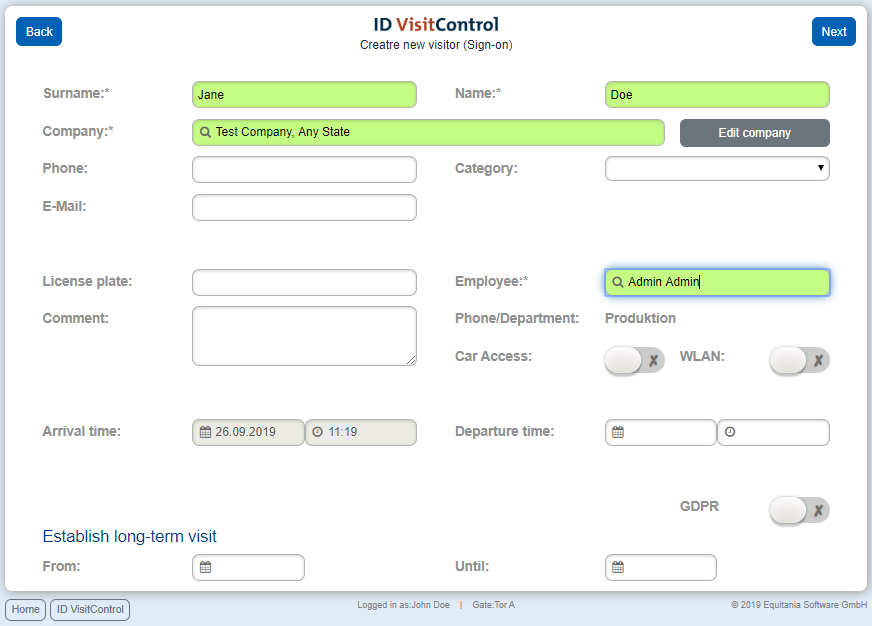
Register your visitor at reception as usual.
The Next button takes you to the WebCam page.
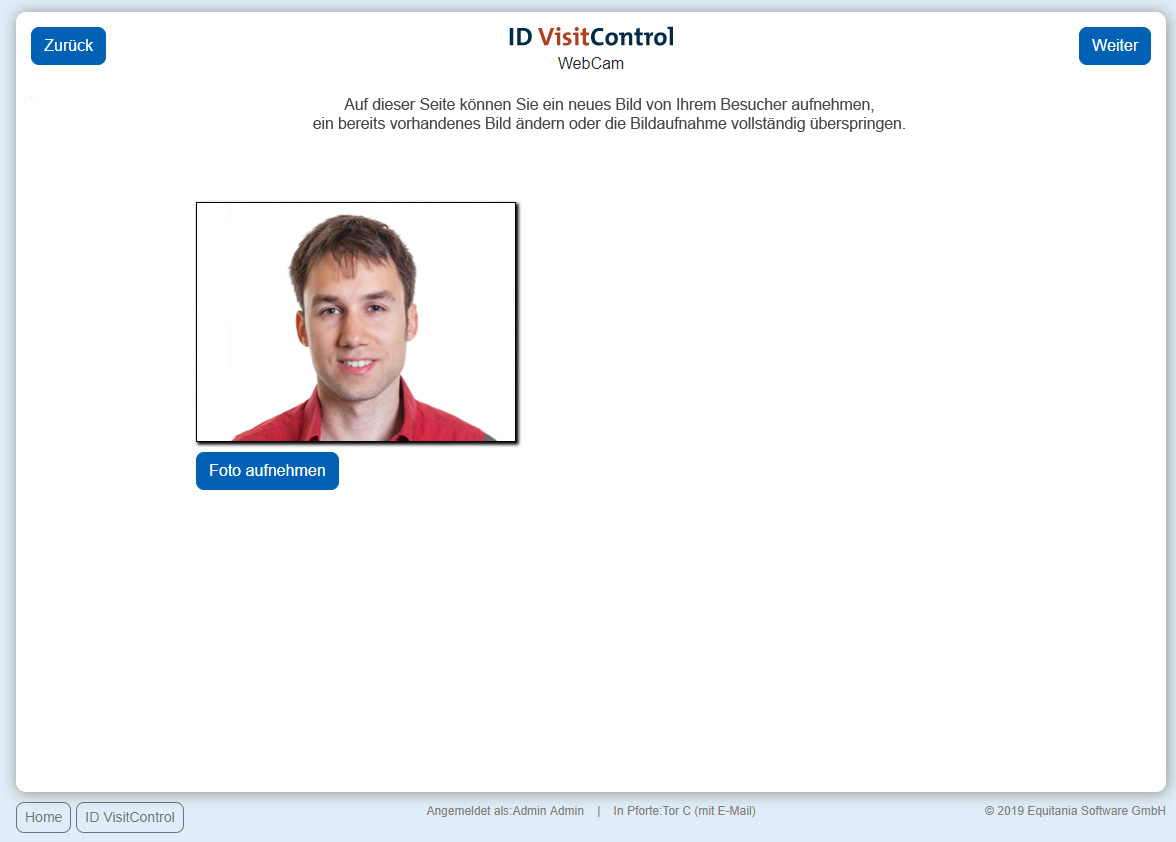
The "Webcam" page is only available if you have licensed and activated the Webcam add-on module.
You can now take a picture of your visitor by clicking on the Take picture button.
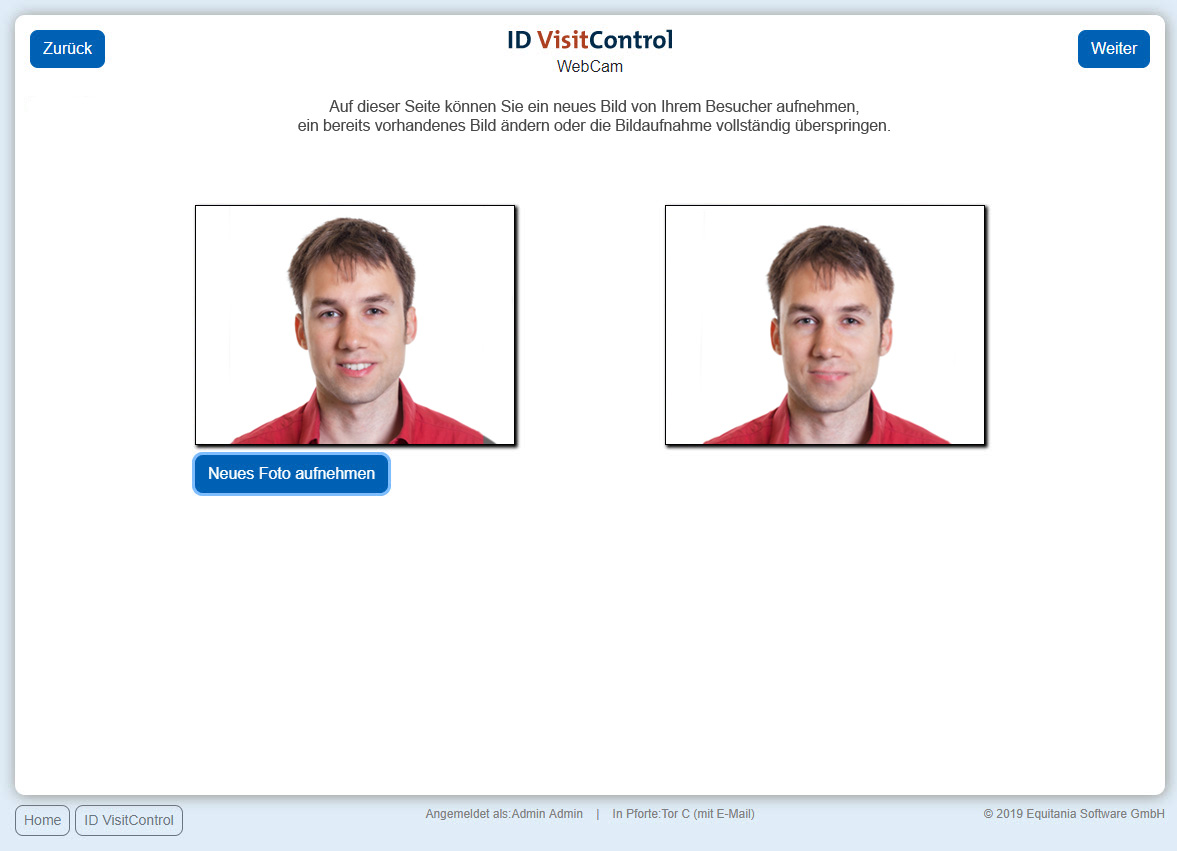
The Next button takes you to the next page for checking and, if necessary, creating a new image.
Here you have the option of taking the photo again. To do this, click on the button Take new photo.
When you are satisfied with the photo, click on the Next button to go to the label selection page.
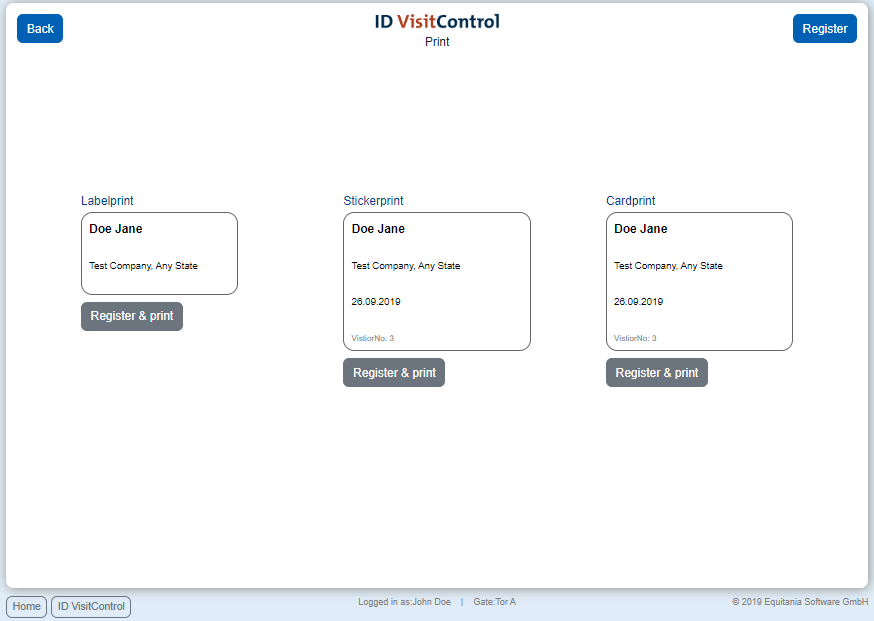
Here you can now select the appropriate badge. Click the Register & Print button to register the visitor and print the badge at the same time. You can also just register the visitor. To do so, click the Register button in the upper right corner.
The registration was successful and the visitor is now automatically in your visit list.
Activating the webcam for reception
To be able to use the webcam in reception, you must activate the licence, as well as activate the setting for the gate.
Activate the licence, if licensed, in the Administration under
Other settings > Licence
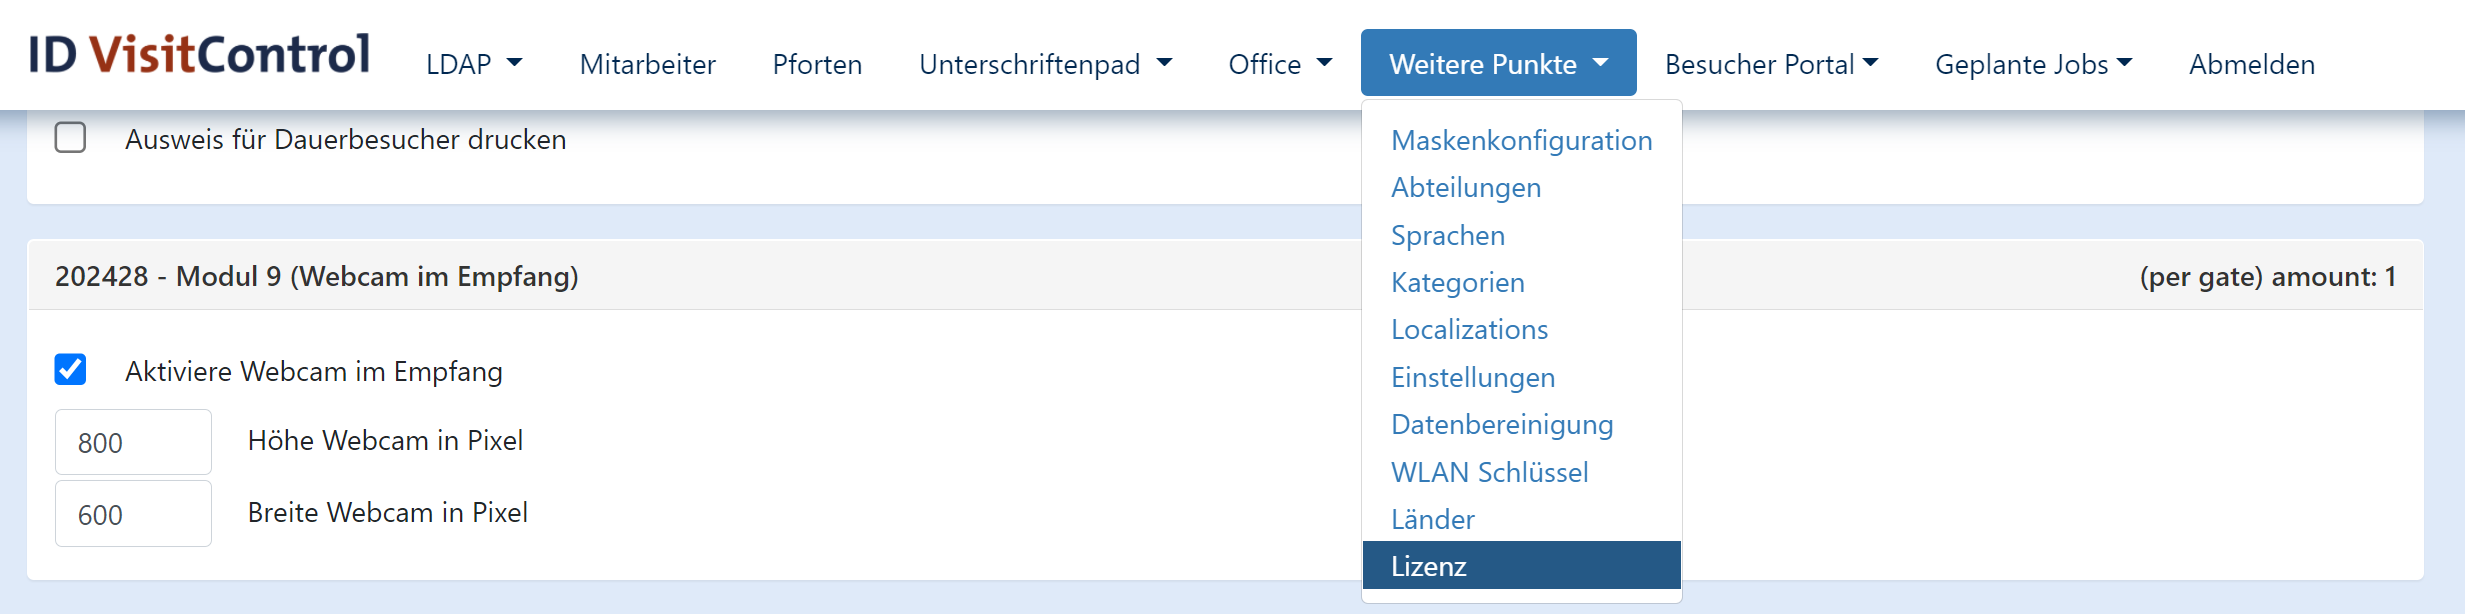
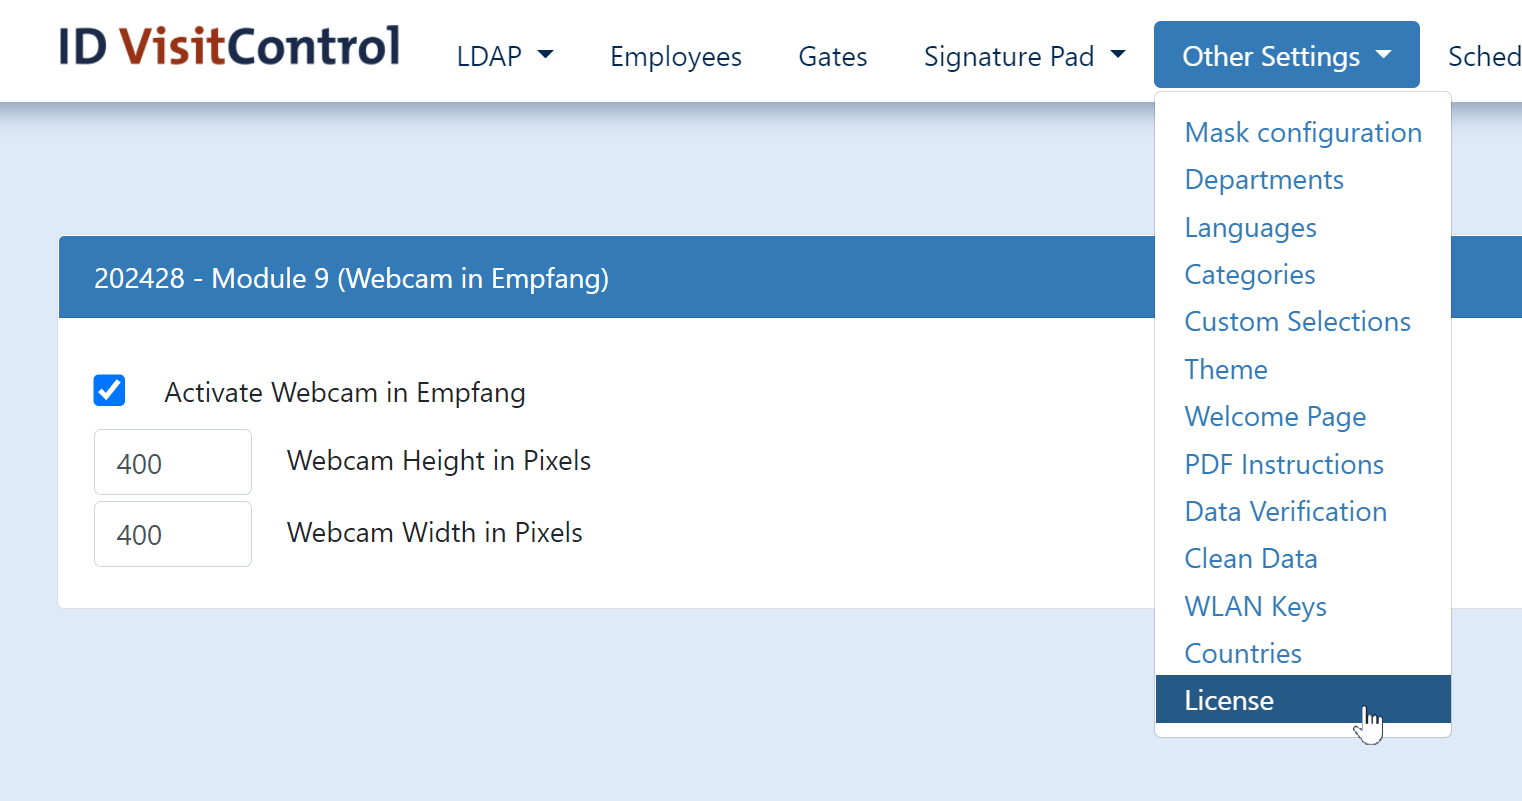
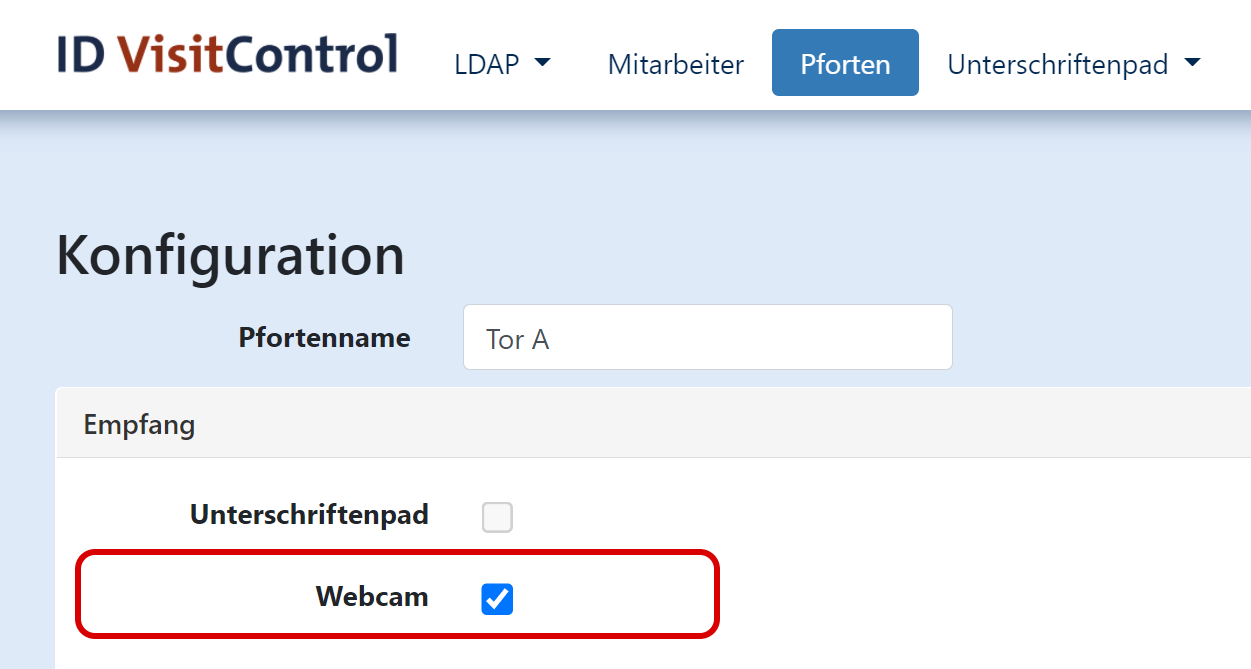
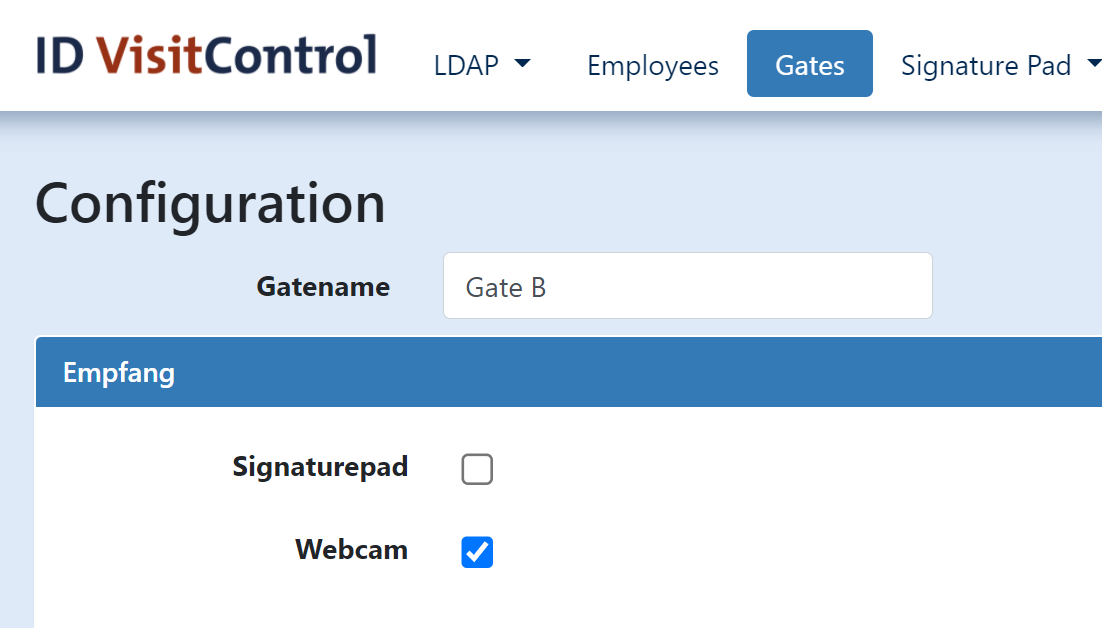
After activation in the licence, you have the option to activate the webcam for gates of your choice.
Save the settings for the gate and log on to the reception module again. Now the webcam function should be enabled as in the workflow above.
| Untergeordnete Seiten (Anzeige untergeordneter Seiten) |
|---|